
Did you know that regular hearing aid cleaning can significantly elongate these devices’ lifespan? As your trusty day-to-day companions, and just like any valuable gadget, hearing aids need proper care. Regular maintenance helps prevent the build-up of earwax, debris, and moisture that can affect their functionality.
In this guide, we’ll dive into the essentials of hearing aid cleaning kits – what they contain, how to use them, and some handy tips to keep your hearing aids in top-notch condition. Let’s ensure your hearing aids are always performing at their best!
In This Article:
Why Frequent Hearing Aid Cleaning Is Necessary
Hearing aids are delicate devices that are exposed to earwax, moisture, and environmental debris daily. Over time, these substances can accumulate and cause various issues. Here’s why keeping your hearing aids clean is so important:
1) Prevents Build-Up of Earwax, Debris, and Moisture
Earwax and debris can clog the tiny components of your hearing aids, such as the microphone and speaker, leading to diminished sound quality or complete malfunction. Moisture from sweat and humidity can also penetrate the hearing aids, potentially causing corrosion and electronic failures. Regular cleaning prevents these build-ups, ensuring that your hearing aids remain in good working condition.
2) Impact on Sound Quality
Clean hearing aids deliver the best sound quality. When earwax and debris clog the microphone or receiver, it can cause muffled or distorted sounds. By keeping your hearing aids clean, you ensure that you hear sounds accurately and make the most of your hearing aid.
3) Prolongs Device Longevity
Investing in hearing aids can be significant, so it’s important to take care of them to ensure they last as long as possible. Regular cleaning and maintenance can extend the lifespan of your hearing aids by preventing damage caused by earwax build-up, moisture, and debris. Properly maintained hearing aids can function optimally for five to seven years, making your investment more worthwhile.
Components of a Hearing Aid Cleaning Kit
Properly maintaining your hearing aids involves using the right tools and solutions. Here’s an overview of the essential components of a hearing aid cleaning kit:
1) Cleaning Tools
Effective cleaning starts with the right tools. Some common items typically found in hearing aid cleaning kits include:
- Brushes: Small, soft-bristled hearing aid cleaning brushes are used to gently remove dirt and earwax from the device’s surface and openings.
- Wax Picks: These picks help remove stubborn earwax from small crevices and openings in your hearing aids.
- Tubing Cleaners: These thin, flexible tools (also known as hearing aid cleaning wires) are designed to clean the tubes of behind-the-ear (BTE) hearing aids, ensuring clear sound transmission.
- Cleaning Sprays: Specially formulated hearing aid cleaning solutions are designed to sanitize and remove dirt and earwax without damaging the delicate components of your hearing aids.
- Cleaning Wipes: Hearing aid cleaning wipes are convenient for on-the-go cleaning. They help keep your hearing aids free from germs and debris.
2) Drying Accessories
Moisture is a common issue that can affect the performance of your hearing aids. Including drying accessories in your maintenance routine can help:
- Drying Kits: These kits often include a drying jar and desiccant to absorb moisture from your hearing aids overnight.
- Dehumidifiers: Electronic dehumidifiers, like those found in high-tech drying stations, provide a more thorough drying process, ensuring that all moisture is eliminated.
- Drying Bags: Portable and easy to use, drying bags contain moisture-absorbing materials to keep your hearing aids dry, especially useful in humid climates or during physical activities.
What Is the Best Way to Clean a Hearing Aid?
Different types of hearing aids, such as behind-the-ear (BTE), in-the-ear (ITE), and receiver-in-canal (RIC) models, require specific cleaning routines to maintain their performance. Here are our recommended routines for each type of hearing aid to keep them in top condition:
1) Cleaning BTE Hearing Aids

- Remove the Dome or Earmold: Detach the dome or earmold from the hearing aid. This can usually be done by gently twisting and pulling it off.
- Clean the Dome or Earmold: If using a dome, inspect it for any wax build-up. Gently remove it using a brush or pick. Replace the dome if it is damaged or too dirty to clean. In case you’ve opted for an earmold, soak it in warm, soapy water for a few minutes. Use a small brush to remove any earwax or debris. Rinse thoroughly with clean water and dry completely before reattaching.
- Wipe the Hearing Aid: Use a soft, dry cloth to wipe the hearing aid itself. Be careful not to get any water or cleaning solutions on the hearing aid as this can damage the electronics.
- Clean the Tubing: Use a tubing cleaner to remove any earwax or debris inside the tubing. Then, insert the cleaner through one end and gently push it through to the other end. Ensure the tubing is completely dry before reattaching it.
- Check the Microphone and Receiver Openings: Use a small brush to clean any debris from these openings, ensuring they are free from blockages.
- Drying: Use a drying kit or dehumidifier overnight to remove any moisture from the hearing aid and its components.
2) Cleaning ITE Hearing Aids

Wipe the Surface: Use a dry, soft cloth to wipe the entire surface of the hearing aid. Make sure you remove any visible dirt or earwax.
- Brush the Openings: Use a small brush to gently clean the microphone and speaker openings. This helps remove any earwax or debris that could block sound.
- Check the Wax Guard: If your hearing aid has a wax guard, check it regularly. If the guard appears clogged or dirty, replace it following the manufacturer’s instructions.
- Use a Wax Pick: Gently use a wax pick to remove any stubborn wax build-up in the crevices and small openings.
- Drying: If you live in a humid environment or sweat a lot, use a dehumidifier to remove any moisture from the hearing aid overnight.
3) Cleaning RIC Hearing Aids
- Wipe the Hearing Aid: Use a soft, dry cloth to clean the hearing aid body, removing any dirt or debris.
- Clean the Receiver: Use a small brush to gently clean the receiver, paying close attention to remove any earwax and debris from the small openings.
- Check the Dome or Earmold: Inspect the dome that fits into your ear canal. If there is any wax build-up, gently remove it using a brush or pick. Replace the dome if it is damaged or too dirty to clean. If your RIC hearing aid has an earmold instead of a dome, follow the same cleaning steps as for BTE earmolds: soak in warm, soapy water, brush away debris, rinse, and dry thoroughly.
- Drying: Use a drying kit or dehumidifier overnight to ensure all moisture is removed from the hearing aid and its components.
Remember, proper maintenance not only extends your hearing aids’ lifespan, but also ensures they provide you with the best possible hearing experience, so you’re able to enjoy every sound the world has to offer!
How Often Should a Hearing Aid Be Cleaned?
Knowing exactly when to clean your hearing aids and what steps to take can be confusing, but having a clear routine makes it much easier. Here’s our guide to help you establish daily, weekly, and monthly cleaning routines to keep your devices working their best:
1) Daily Cleaning Routine
- Wipe Down: At the end of each day, use a soft, dry cloth to gently wipe down your hearing aids. This helps remove sweat, oils, and debris that may accumulate during the day.
- Quick Check: Inspect the microphone and receiver openings for any signs of wax or debris. Use a small brush or wax pick to gently clean these areas if needed.
- Proper Storage: When not in use, store your hearing aids in a dry, safe place. Consider using a drying kit or dehumidifier overnight to keep them moisture-free.
2) Weekly Deep Cleaning
- Detailed Cleaning: Once a week, perform a more thorough cleaning using specialized tools like brushes, wax picks, and tubing cleaners to remove any built-up wax and debris. For specific cleaning instructions, refer to the guidelines for your hearing aid type (BTE, ITE, or RIC).
- Clean Earmolds and Domes: If your hearing aids have removable earmolds or domes, detach and clean them thoroughly. Soak earmolds in warm, soapy water, rinse, and dry completely. Domes should be inspected and gently cleaned.
- Dry Thoroughly: Ensure all components are completely dry before reassembling your hearing aids. Using a drying kit or dehumidifier can help with this.
3) Monthly Maintenance
- Replace Wax Guards: Check the wax guards on your hearing aids and replace them if they look clogged or dirty. This helps maintain sound quality and prevents damage.
- Battery Care: Test the charge of traditional batteries and replace them if needed. For rechargeable hearing aids, ensure the charging contacts are clean and functioning properly.
- Visual Inspection: Conduct a thorough visual inspection of your hearing aids for any signs of wear or damage. Look for cracks, loose parts, or anything else that might need professional attention.
- Schedule Professional Cleaning: Every few months, schedule a professional cleaning with your audiologist to ensure your hearing aids are in optimal condition.
A little bit of daily care, combined with weekly and monthly maintenance, goes a long way in keeping your hearing aids in excellent condition and enhancing your overall listening experience.
Best Hearing Aid Cleaning Kits
Choosing the right cleaning tools can make a big difference in maintaining your hearing aids. Below are our top-recommended cleaning kits that cater to different needs and preferences:
1) 6-in-1 Hearing Aid Care Kit with Battery Tester
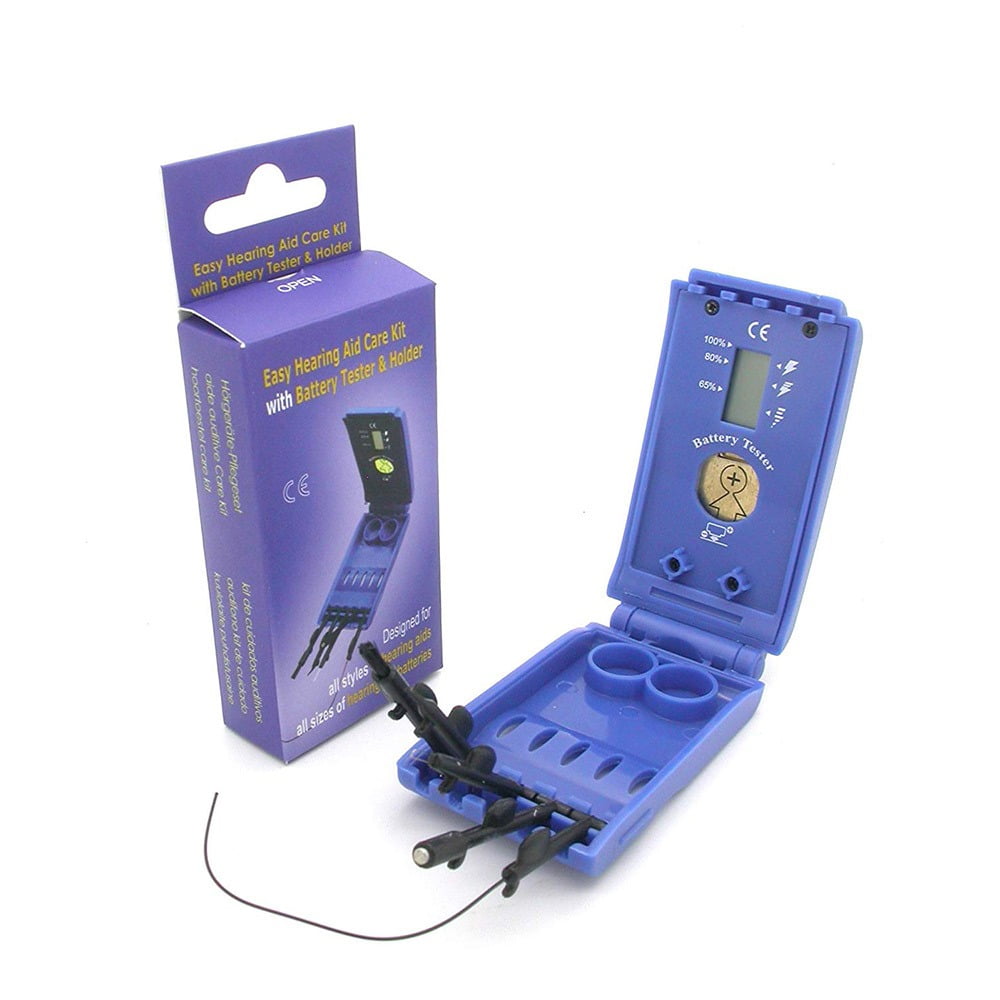
This comprehensive care kit includes six essential tools for quick and effective daily cleaning. It features a cleaning brush, wire wax-loop, tube & vent cleaner, battery door opener, battery replacement magnet, and a digital battery tester. All of these tools come in a handy flip case with a battery storage compartment. The kit is lightweight and portable, making it suitable for all styles of hearing aids.
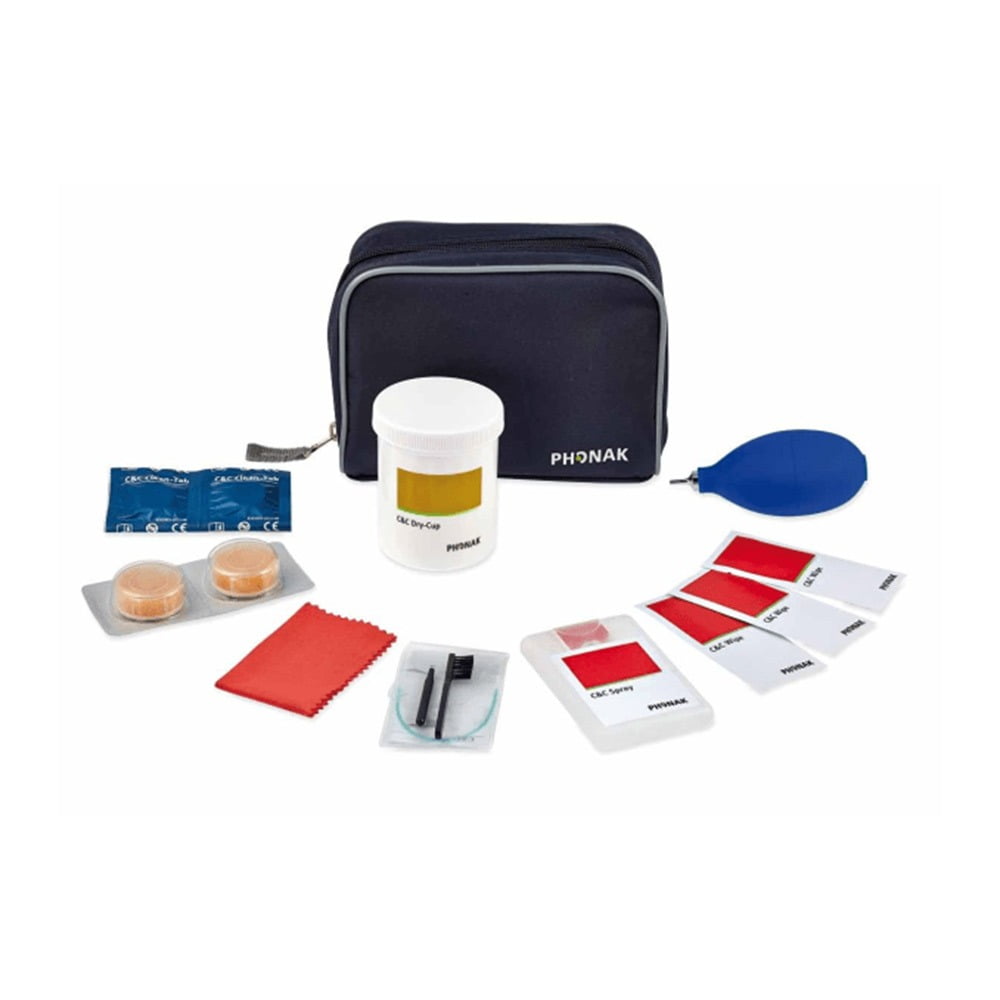
2) C&C Hearing Aid Cleaning & Maintenance Kit 2
The Phonak ‘Cleansing & Care Line’ hearing aid care kit is perfect for use with hearing aids that have a standard tube and earmold/dome. This extensive cleaning kit helps maximize the lifespan of your hearing aids by keeping them clean and sanitized. It is particularly effective in reducing the build-up of harmful bacteria, fungi, and viruses, preventing conditions like eczema and ear infections, and maintaining well-functioning hearing instruments. This kit is a great choice for both home use and travel and makes a thoughtful gift for a loved one.
3) Audinell – Cleaning Set
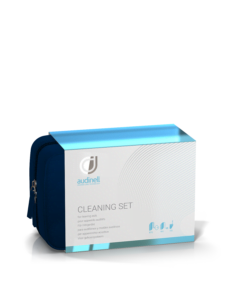
The Audinell Hearing Aid Care Set is the ultimate solution for maintaining the highest standards in hearing instrument hygiene. This meticulously curated kit equips you with essential tools to ensure your hearing aids are flawlessly clean and impeccably maintained. Designed for both effectiveness and portability, the kit includes a drying cup and capsule, potent cleaning wipes, and a 30ml cleaning spray. This comprehensive solution prioritizes the cleanliness and performance of your devices.
4) PerfectClean Hearing Aid Cleaning System
The PerfectClean Hearing Aid Cleaning System is designed to clean, disinfect, and dry your hearing aids with the touch of a button. Using advanced technology, this system combines an air-drying system, antibacterial cleaning solution, and UV-C lamp to purify and sanitize your hearing aids in just 90 minutes. It’s a highly effective and convenient solution for maintaining your hearing aids’ hygiene and performance.
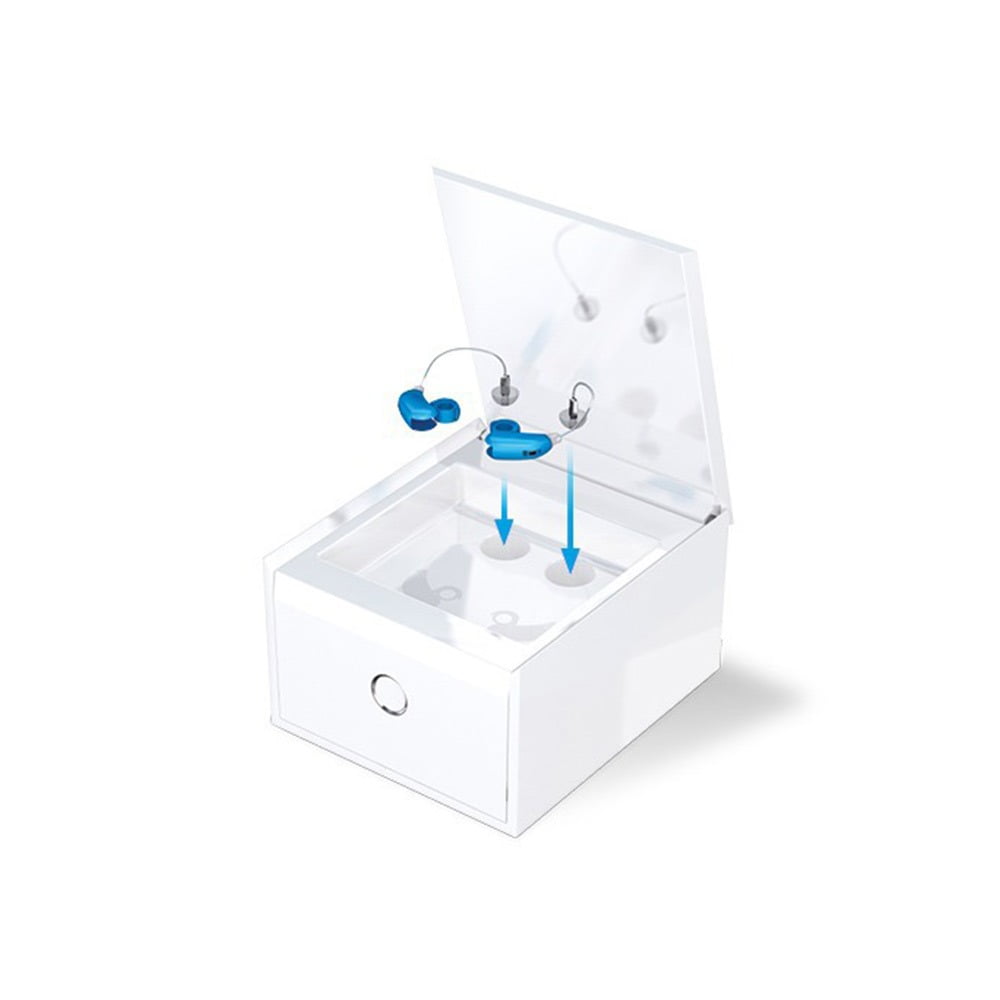
5) Audinell – Drying Kit
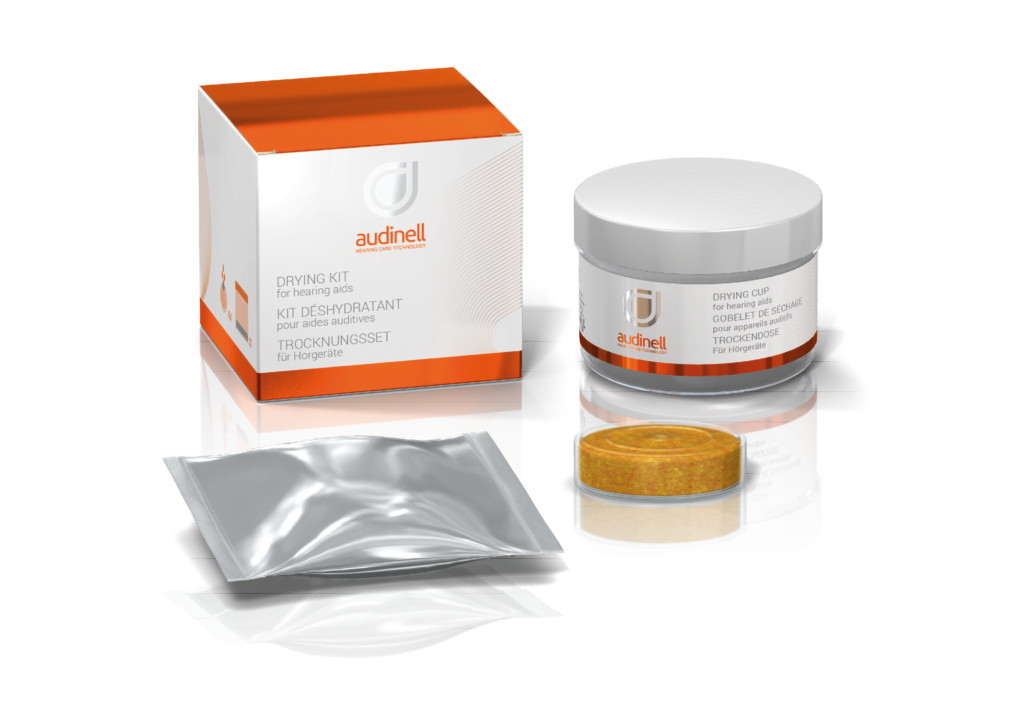
As we mentioned above, your hearing aids are exposed to perspiration, moisture, and wax daily. To combat this, using drying capsules can help maintain the essential functionality of your hearing instruments. This starter kit includes a drying cup and a four-month supply of drying tablets, ensuring your hearing aids stay moisture-free and in optimal condition.
Conclusion
Cleaning your hearing aids doesn’t have to be complicated. With the right tools and a little daily attention, you can keep them in excellent condition and enjoy clear, uninterrupted sound.
Ready to take the best care of your hearing aids? Browse our wide range of cleaning products to find the perfect solutions for your needs. Click the button below to explore our selection and take the first step towards better hearing aid maintenance.